If you have Windows XP, searching files is surely not a good thing. XP’s file search takes time. On the other hand, if your computer’s operating system is Vista or the latest Windows 7, then you’re one of the lucky ones.
These two OSs have fast search system through its indexing options. However, there’s a very practical program that handles file searching quicker than Vista and 7’s indexing. It’s no other than the nifty Locate32. This software was released in early 2008 – way way ahead of Windows 7. It searches files the quickest way possible — via a simple fitted database.
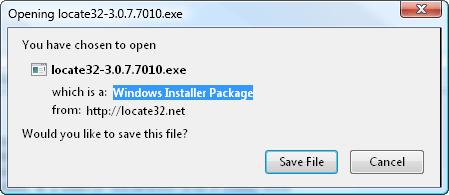
Moreover, this program allows some search customization and external hard-drive integration. To try the convenience of this application, download it at http://locate32.net/content/view/18/31. For 32-bit computers, click the link like the one below.

Press the Save File button to save and download the file in your preferred local folder.
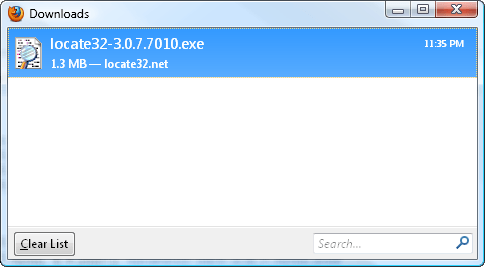
After the download is finish, open it.
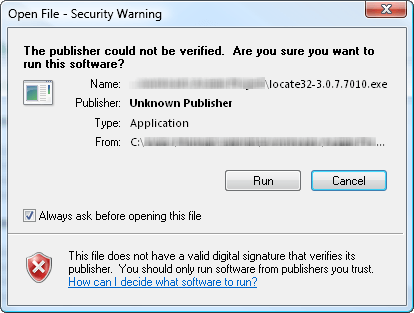
As a security warning, you will be asked to confirm if you want to run the installer. Click the Run button to proceed.
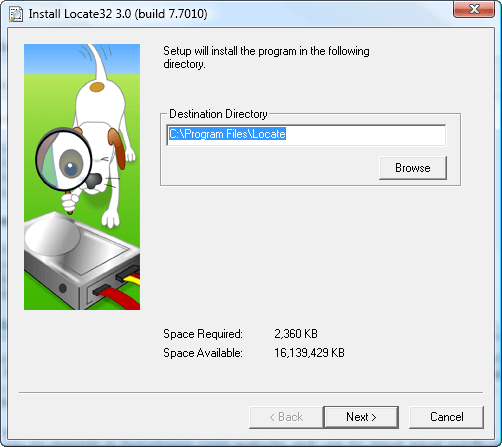
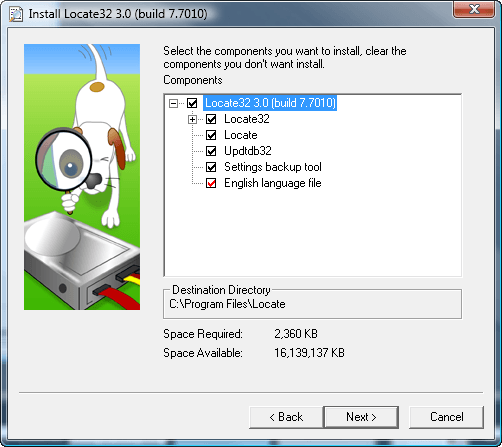
Select Locate32’s destination directory, which has its default location at C:\Program Files\Locate. Press Next >.
You will then be asked if you want to include some components of the program. For software compatibility, leave all check-boxes checked (the default option) and press Next >.
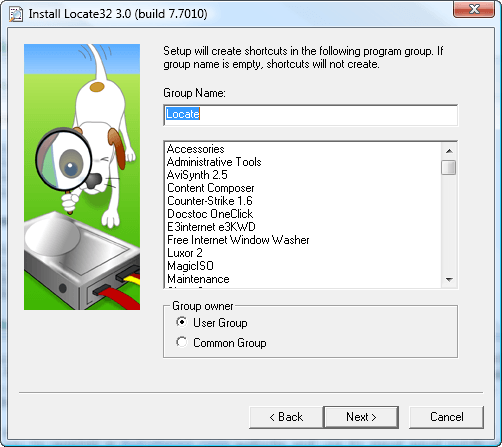
The subsequent form will show you the shortcut setting. You can leave it as it is and click the Next > button.
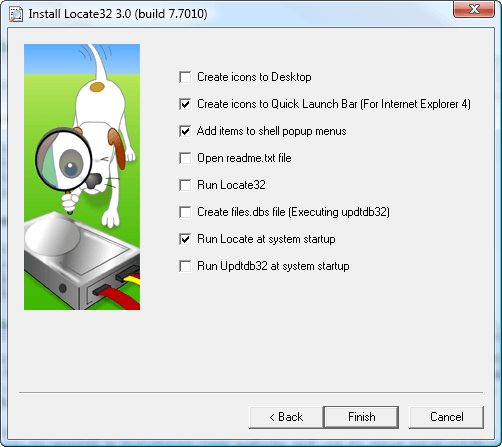
Some additional tasks are then shown. Check all options that apply to you and press Finish.
The installation is now complete. Click OK to close the dialog box.
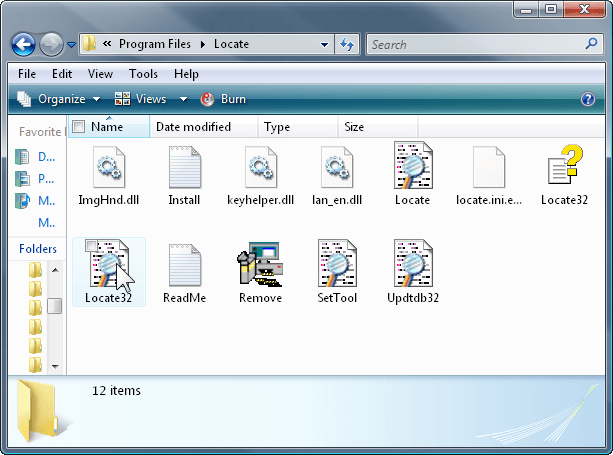
To open the program for the first time, go to its installation directory, which is in C:/Program Files/Locate32, and click the Locate32 icon (as shown below).
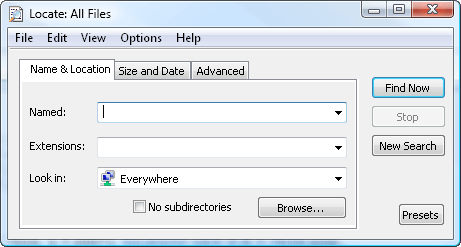
This is the software’s main interface.
Before you can search your computer, you must first update Locate32’s built-in database. Remember that you only have to update your database if you’ve added or installed new files into your computer. For this illustration, we will update the database because we are using Locate32 for the first time.
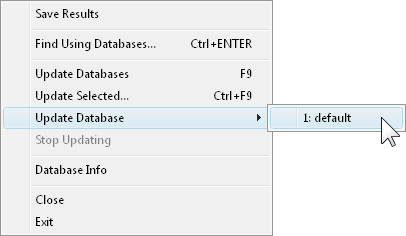
There are two ways to update the database. The first way is by clicking the File menu, Update Database, and hitting default (the default database file).
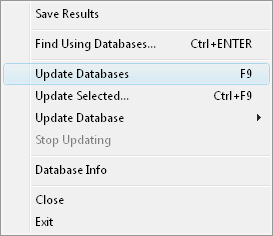
The second way is by directly clicking the Update Databases sub-menu. This is also the step if you’ve created several databases and you want to update them altogether. But for now, you only have one database.
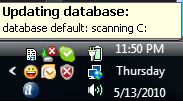
You will know that the program’s database is updating when you see this message on your tray bar.
After the update process is finish, you will see this note on your tray bar.
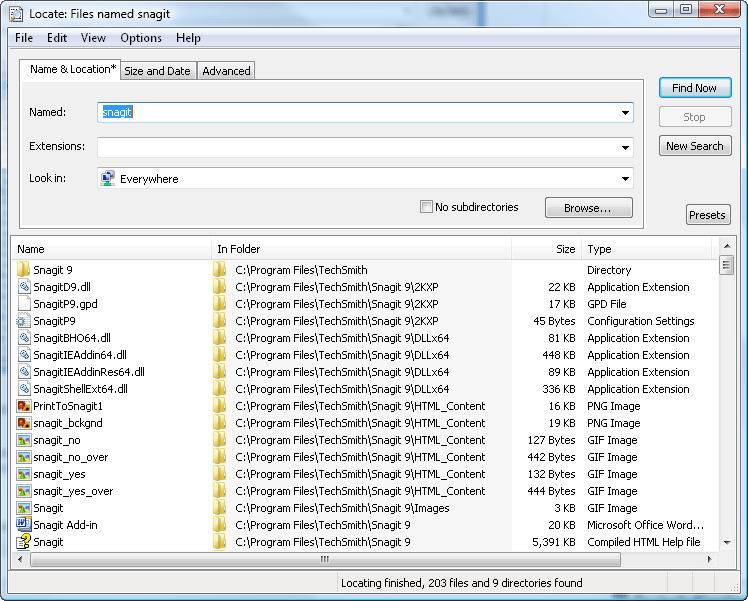
You can now then search your computer. For this illustration, let’s say we want to search all filenames that contain the term “Snagit”. You will just have to input the term on the Named text box and press the Find Now button. Within just three seconds, Locate32 will display all matches.
Locate32 can also be used to search your external hard-drive or USB flash disk. Before you can do this, you must first create a new database for your hard-drive. You can also just add your external hard-drive to the existing default database.
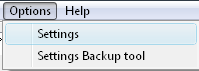
To add some new settings, just click the Options menu and press Settings.
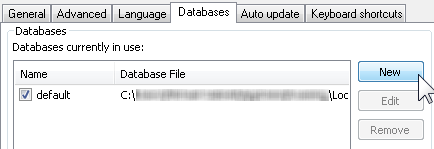
Click Databases and hit the New button.
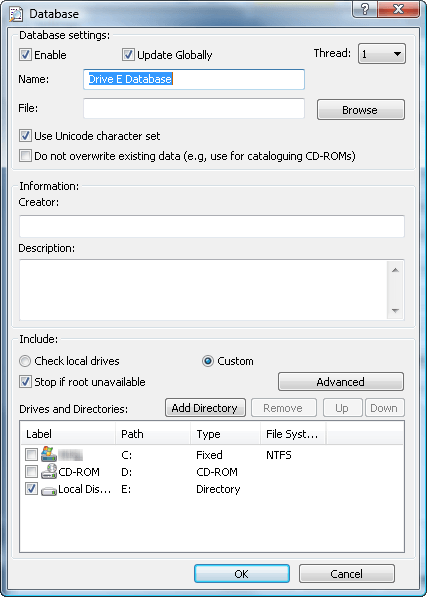
Name the new database appropriately, put some information about it, and include some preferences. Click OK if all settings are reasonable to you.


0 comments:
Post a Comment